> For the complete documentation index, see [llms.txt](https://docs.colormass.com/llms.txt). Markdown versions of documentation pages are available by appending `.md` to page URLs; this page is available as [Markdown](https://docs.colormass.com/building-blocks/products/assign-materials.md).
# Assign Materials
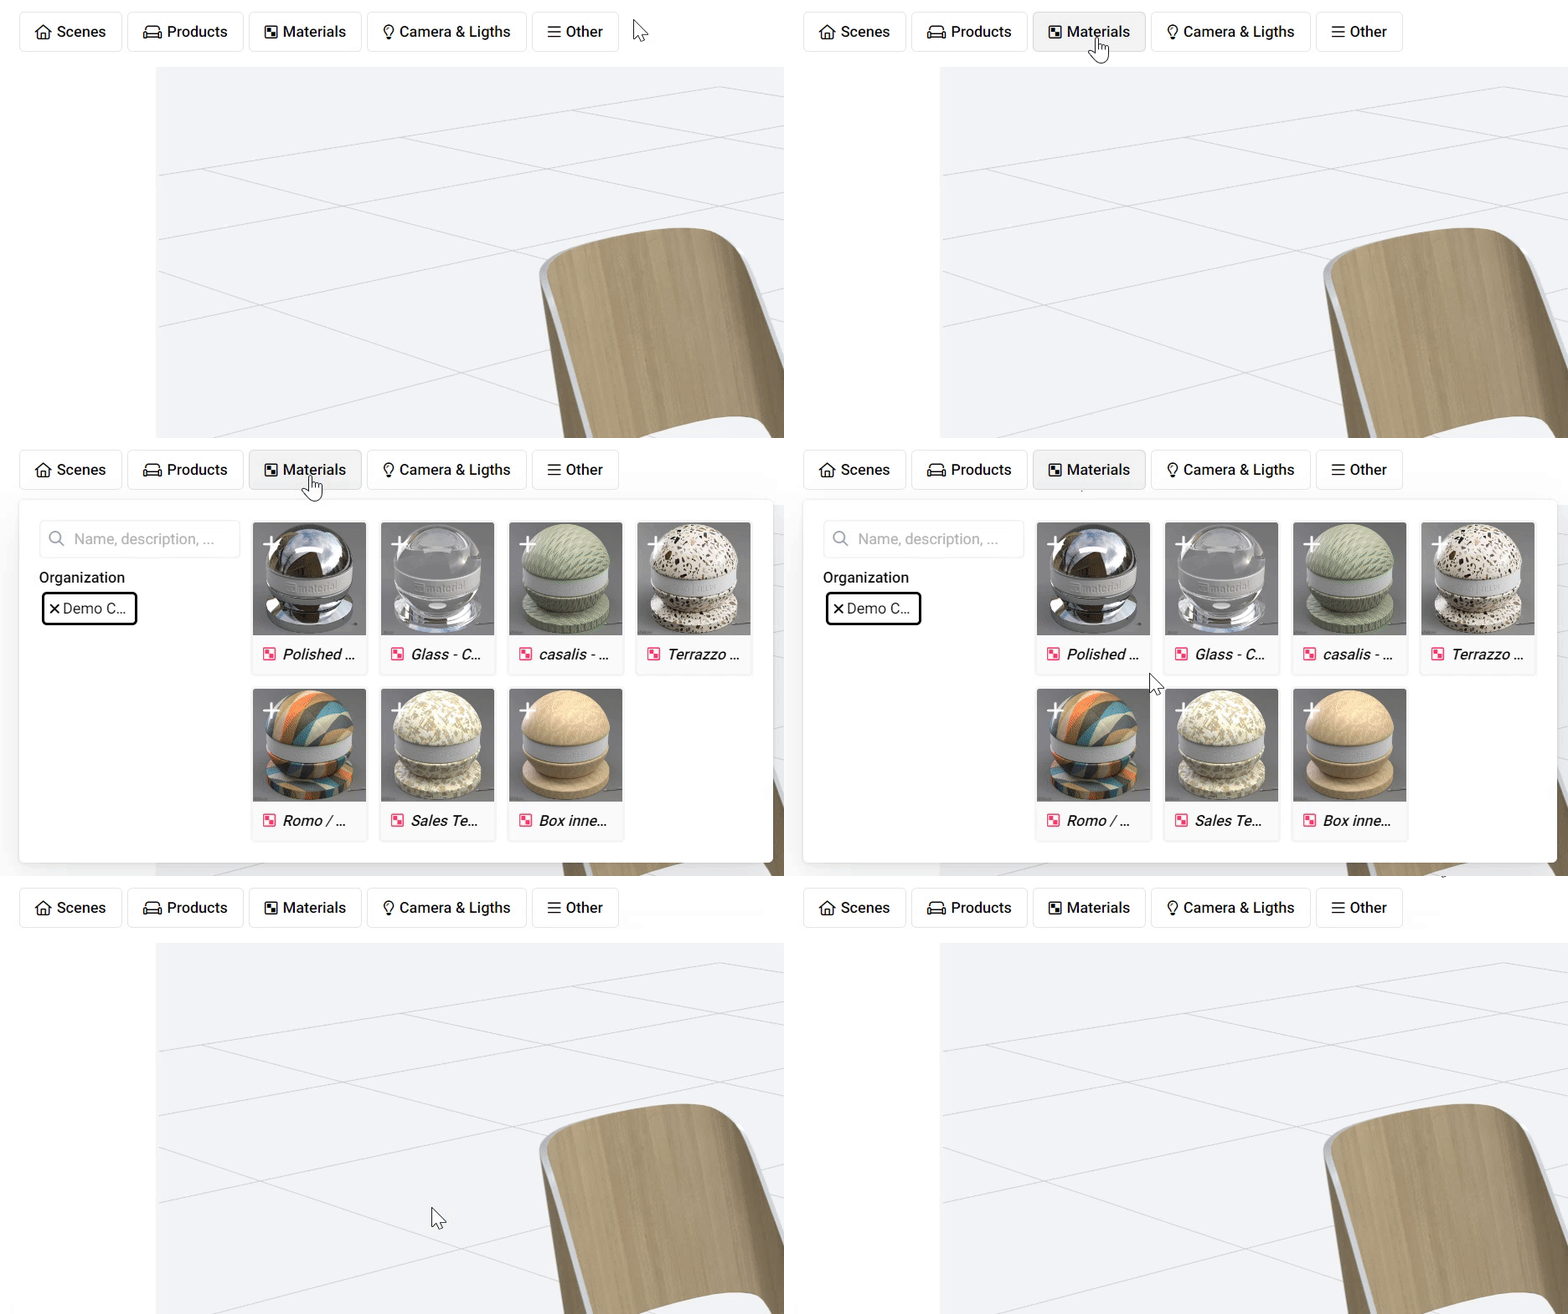
First you have to add the material to your template editor. You can do that clicking on the *Materials* button in the top bar:
Add a material
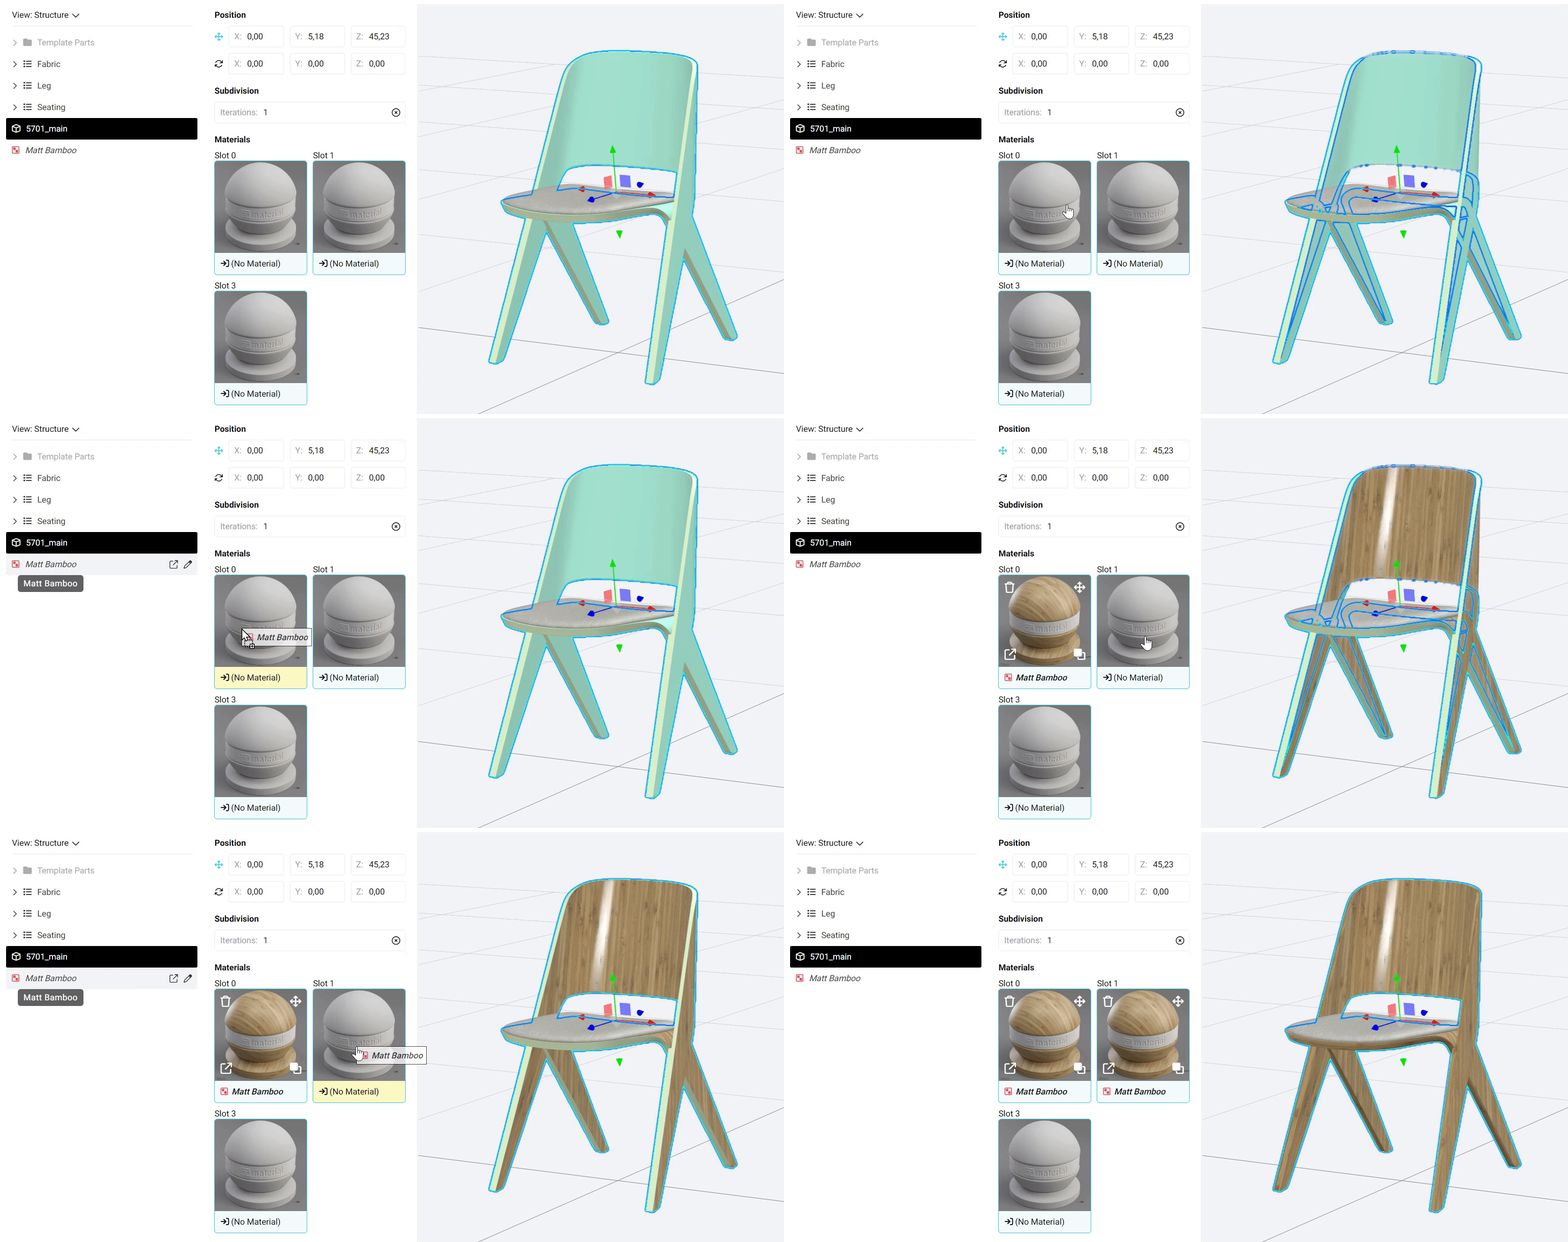
Once its added to your product tree, you can assign the material in two simple steps:
1. Selecting the mesh where you want to apply your material
2. And then dragging & dropping our material to a slot
like so:
Assign a material
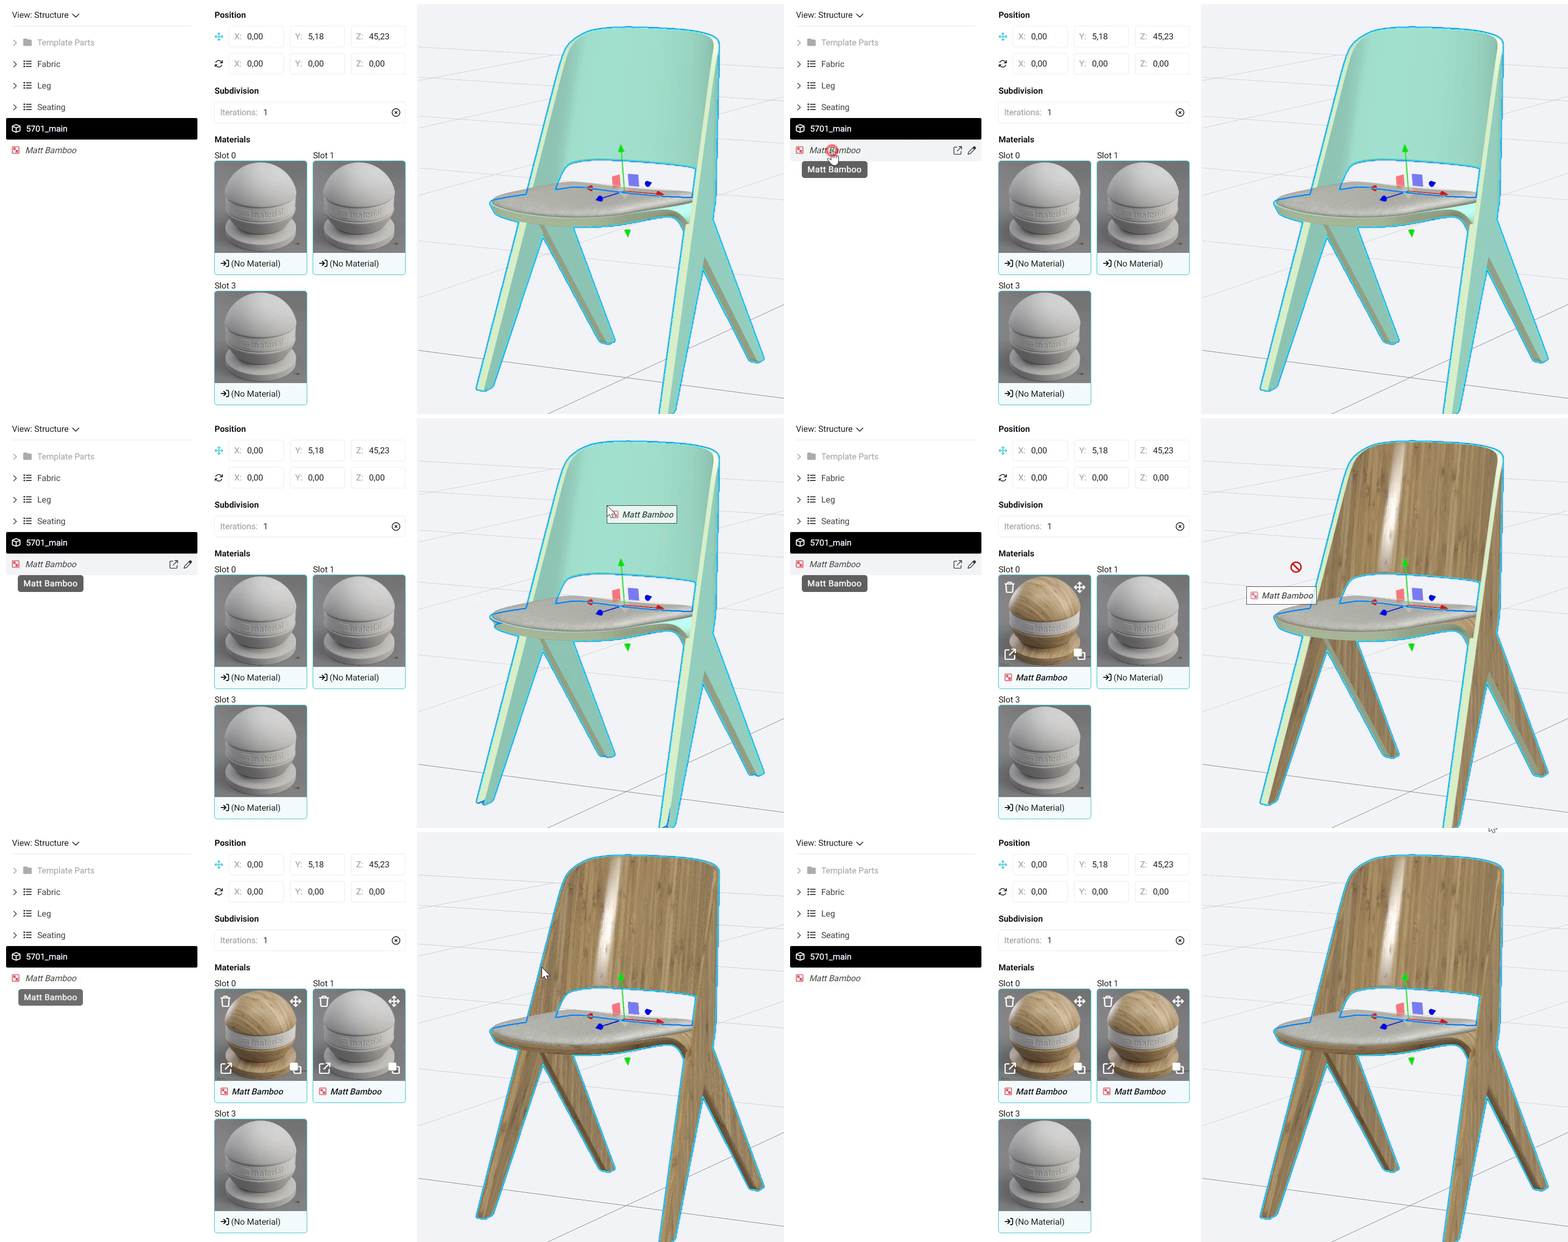
Alternatively you can also directly drag the material into the 3D viewer onto the part of the mesh that you would like to assign it to:
Alternative option to assign a material
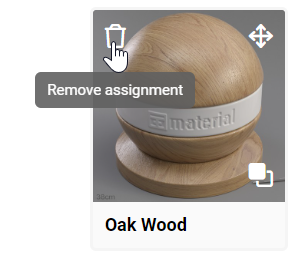
## Remove Assignment
To remove the assignment simply click on the bin icon on the top left corner of the material assignment: