> For the complete documentation index, see [llms.txt](https://docs.colormass.com/llms.txt). Markdown versions of documentation pages are available by appending `.md` to page URLs; this page is available as [Markdown](https://docs.colormass.com/building-blocks/scenes/light.md).
# Light
## Add a Light
At the moment there are two ways to add a light source in the editor:
* Area light
* HDRI light
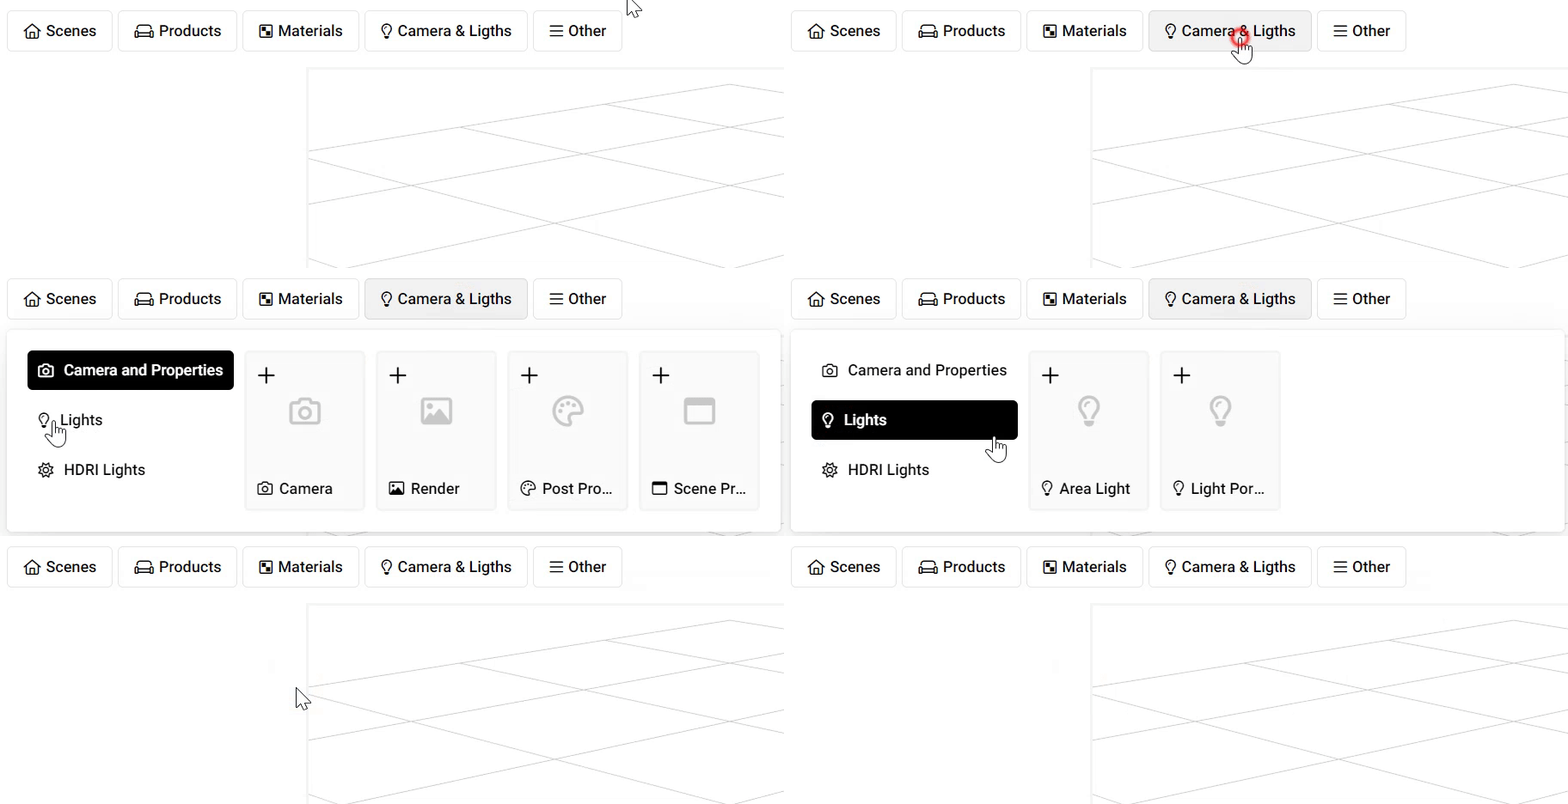
You can add an area light by clicking on the *Camera* *& Lights* button and then clicking on *Lights* and then *Area Light.*
Add a light
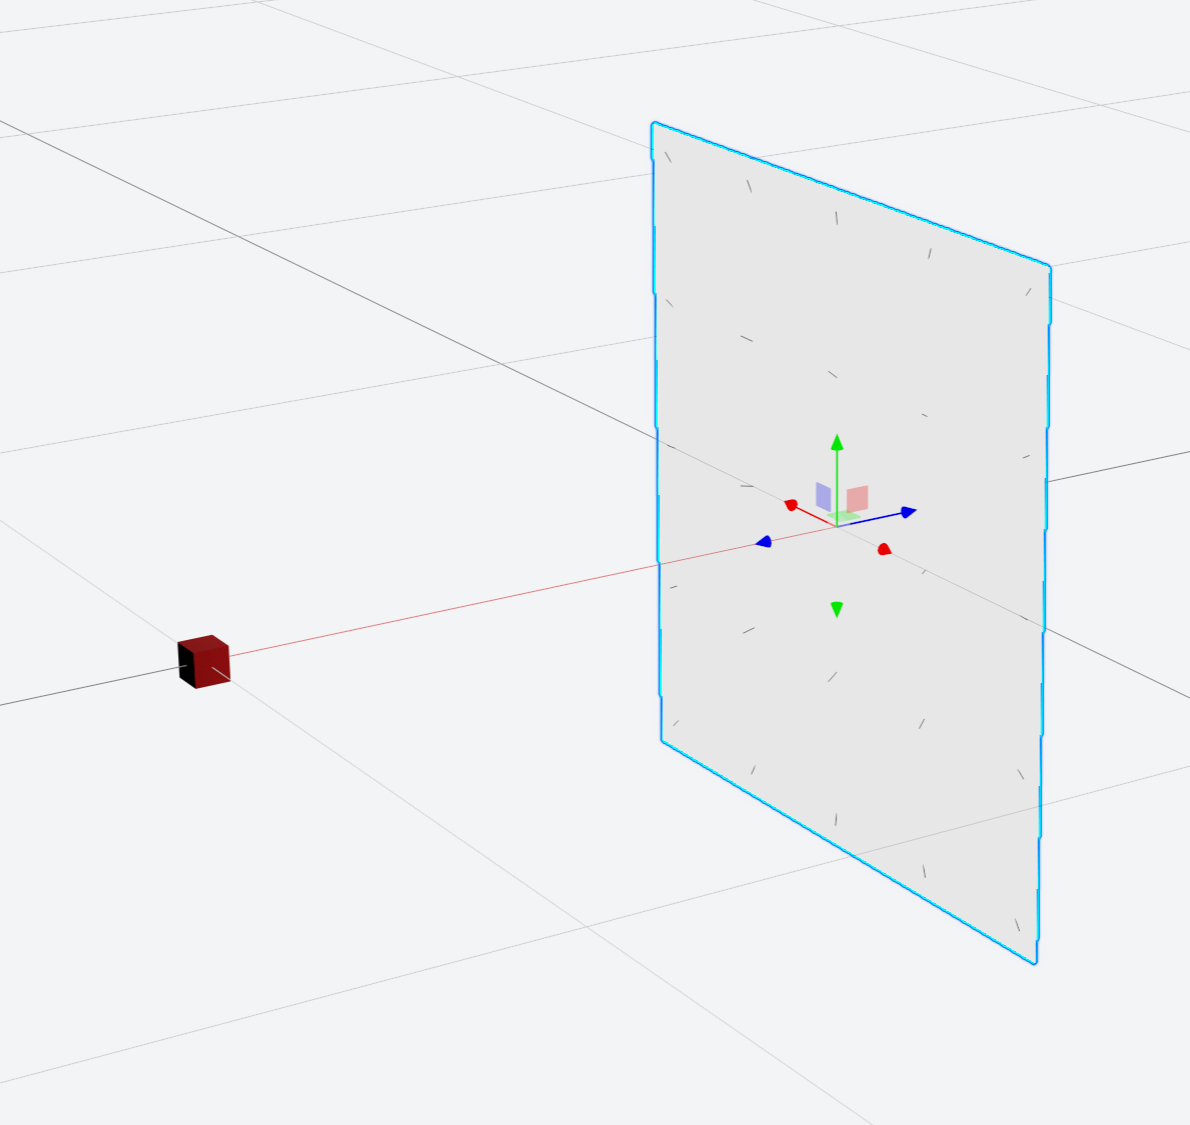
Which will add a rectangle like object in the middle:
Area light
## Targeted vs Non-Targeted
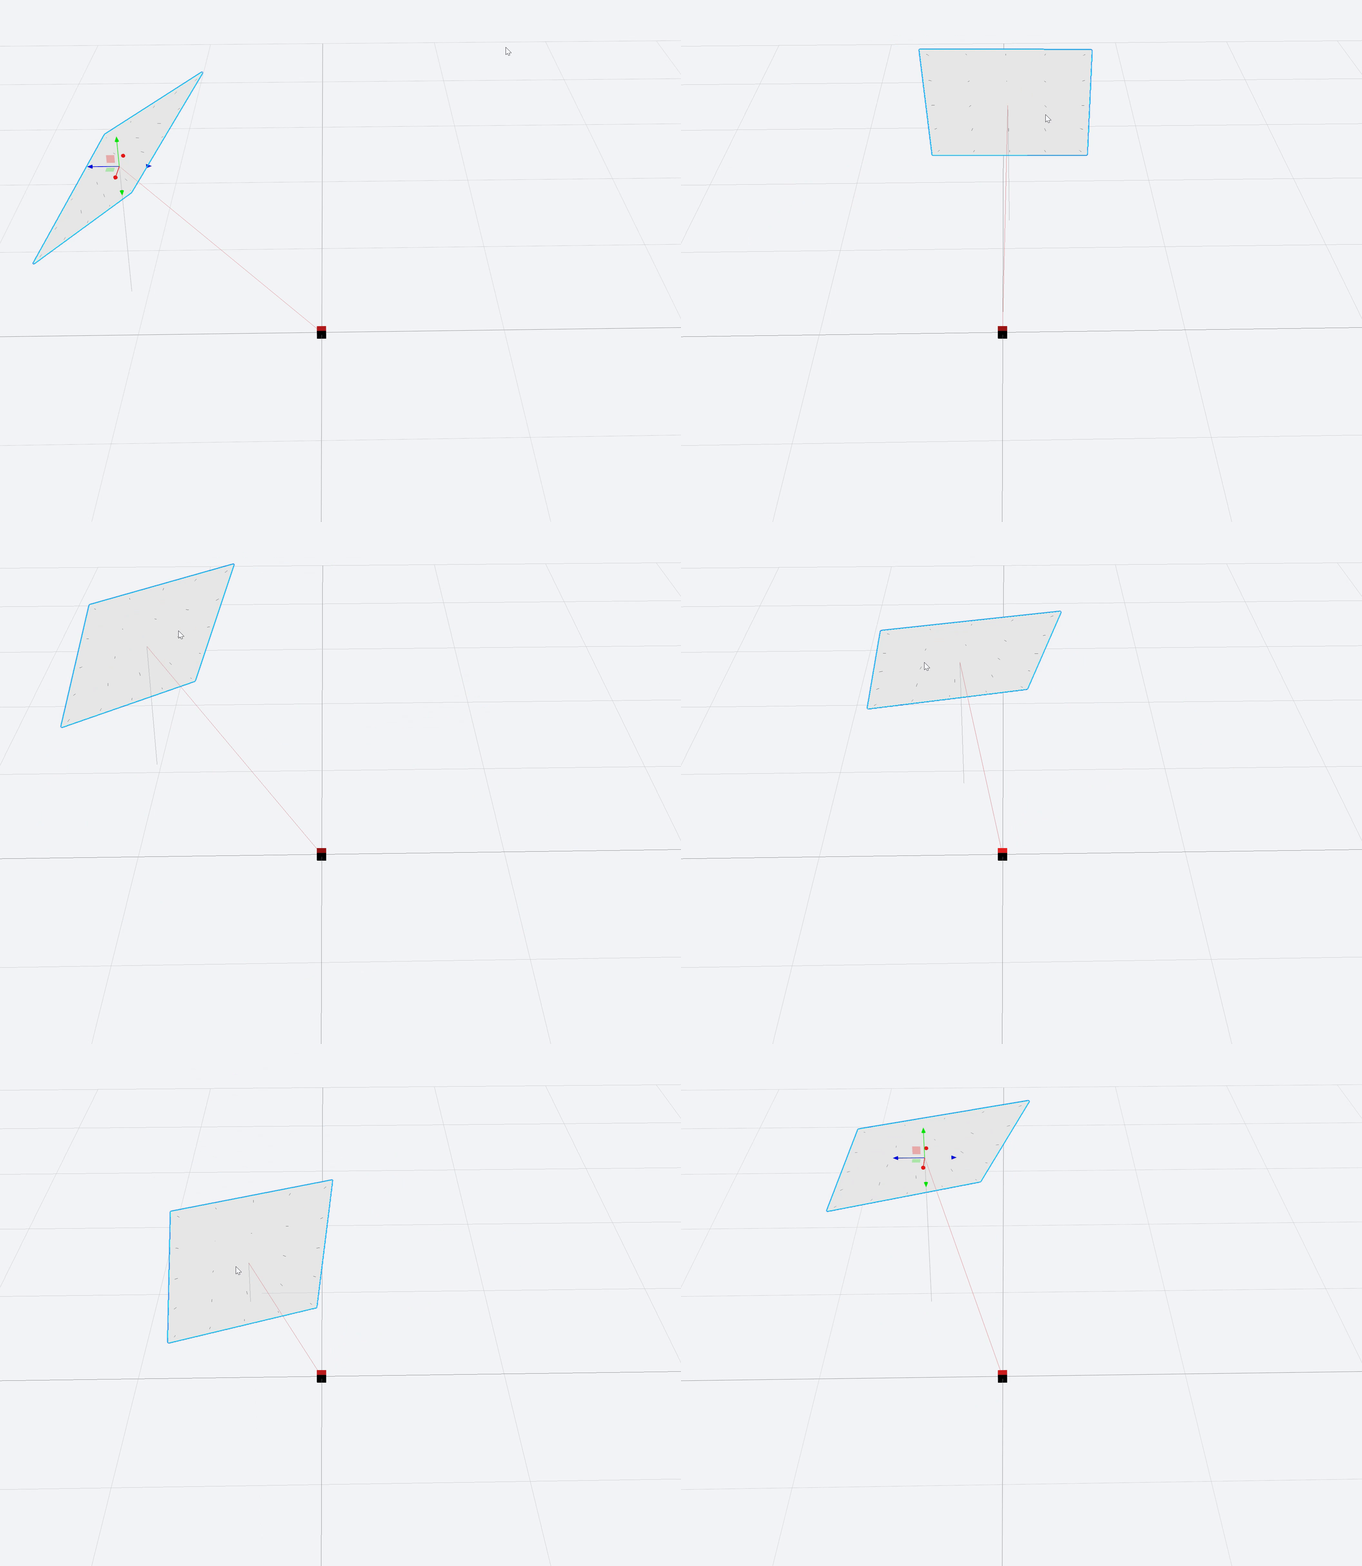
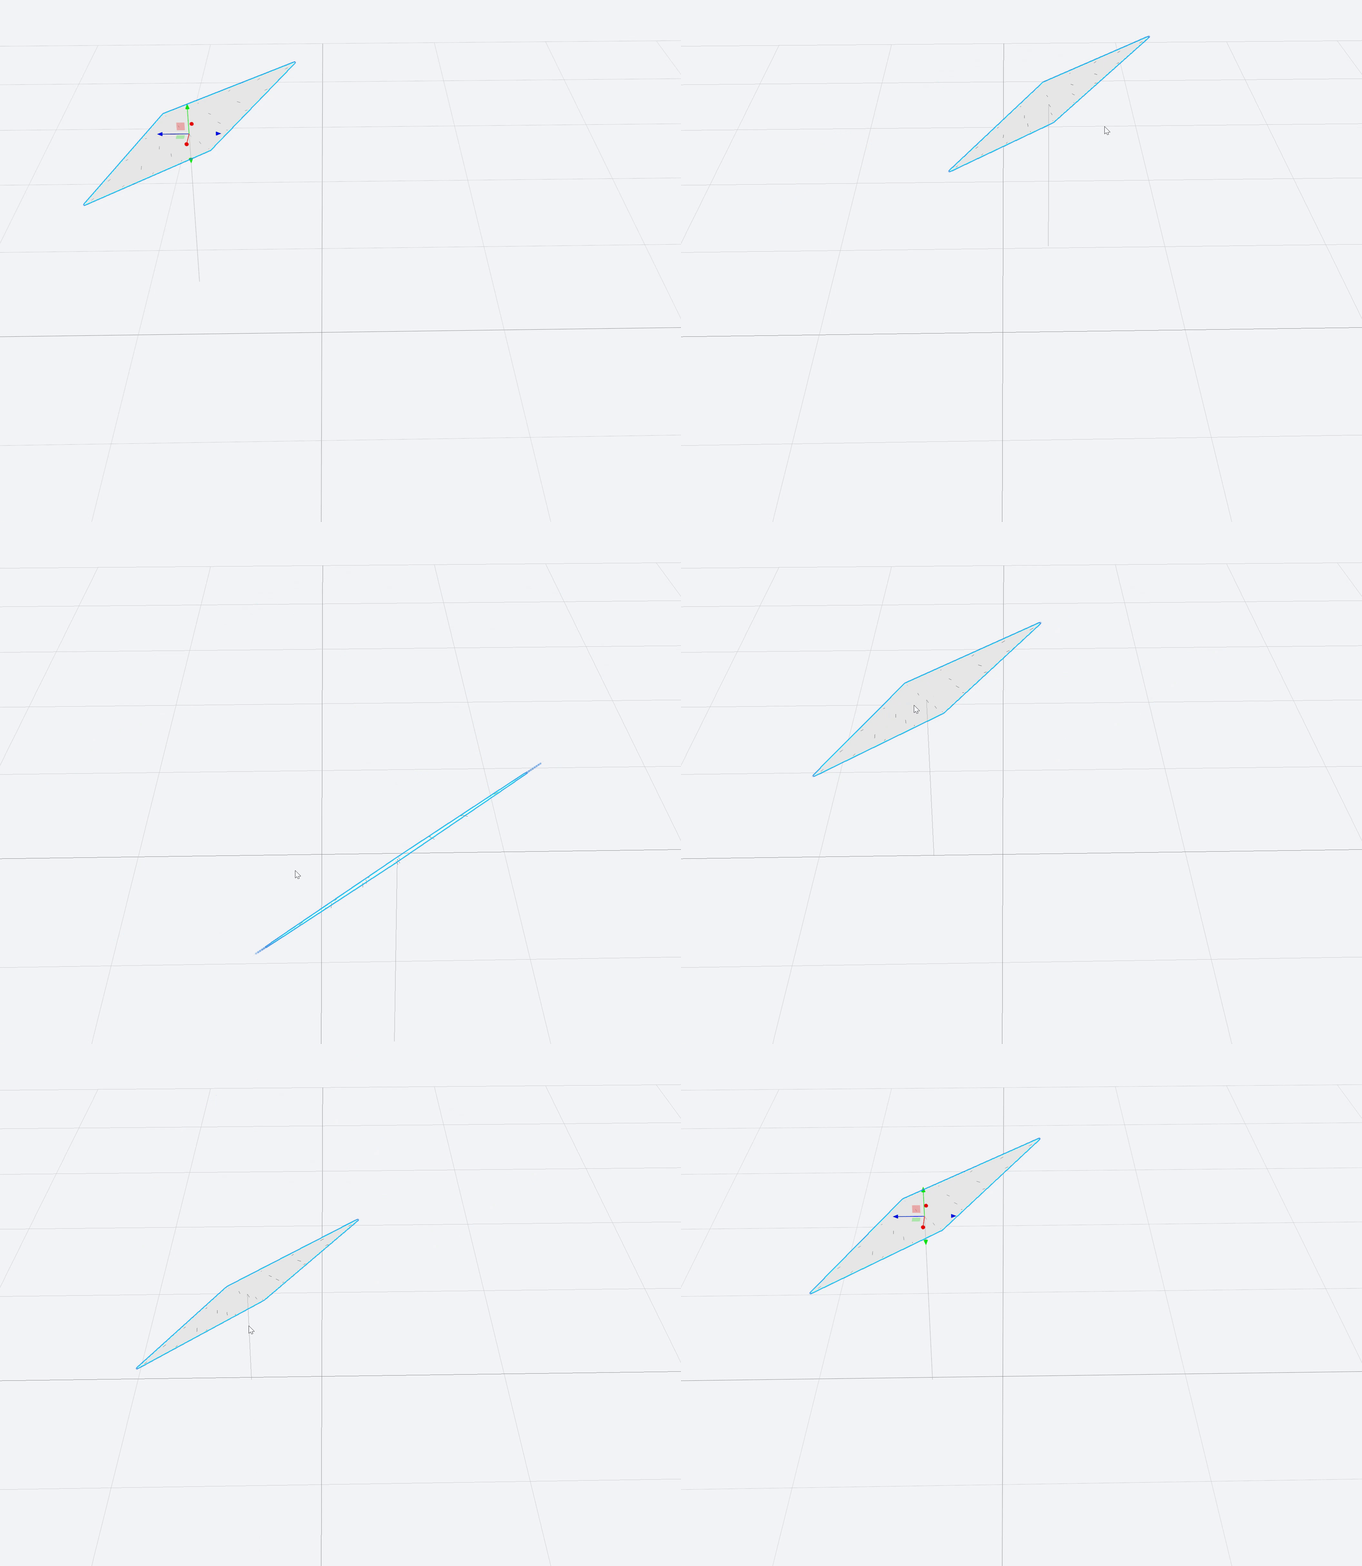
If you click on the target you can also adjust where the target of the light is. The light by default will move around a fixed point in space:
Targeted light
If you change the *Targeted* toggle*:*
Targeted toggle
you will have a *Non-Targeted Light* that is not fixated on any point in space.
Non-targeted light
## Width and Height
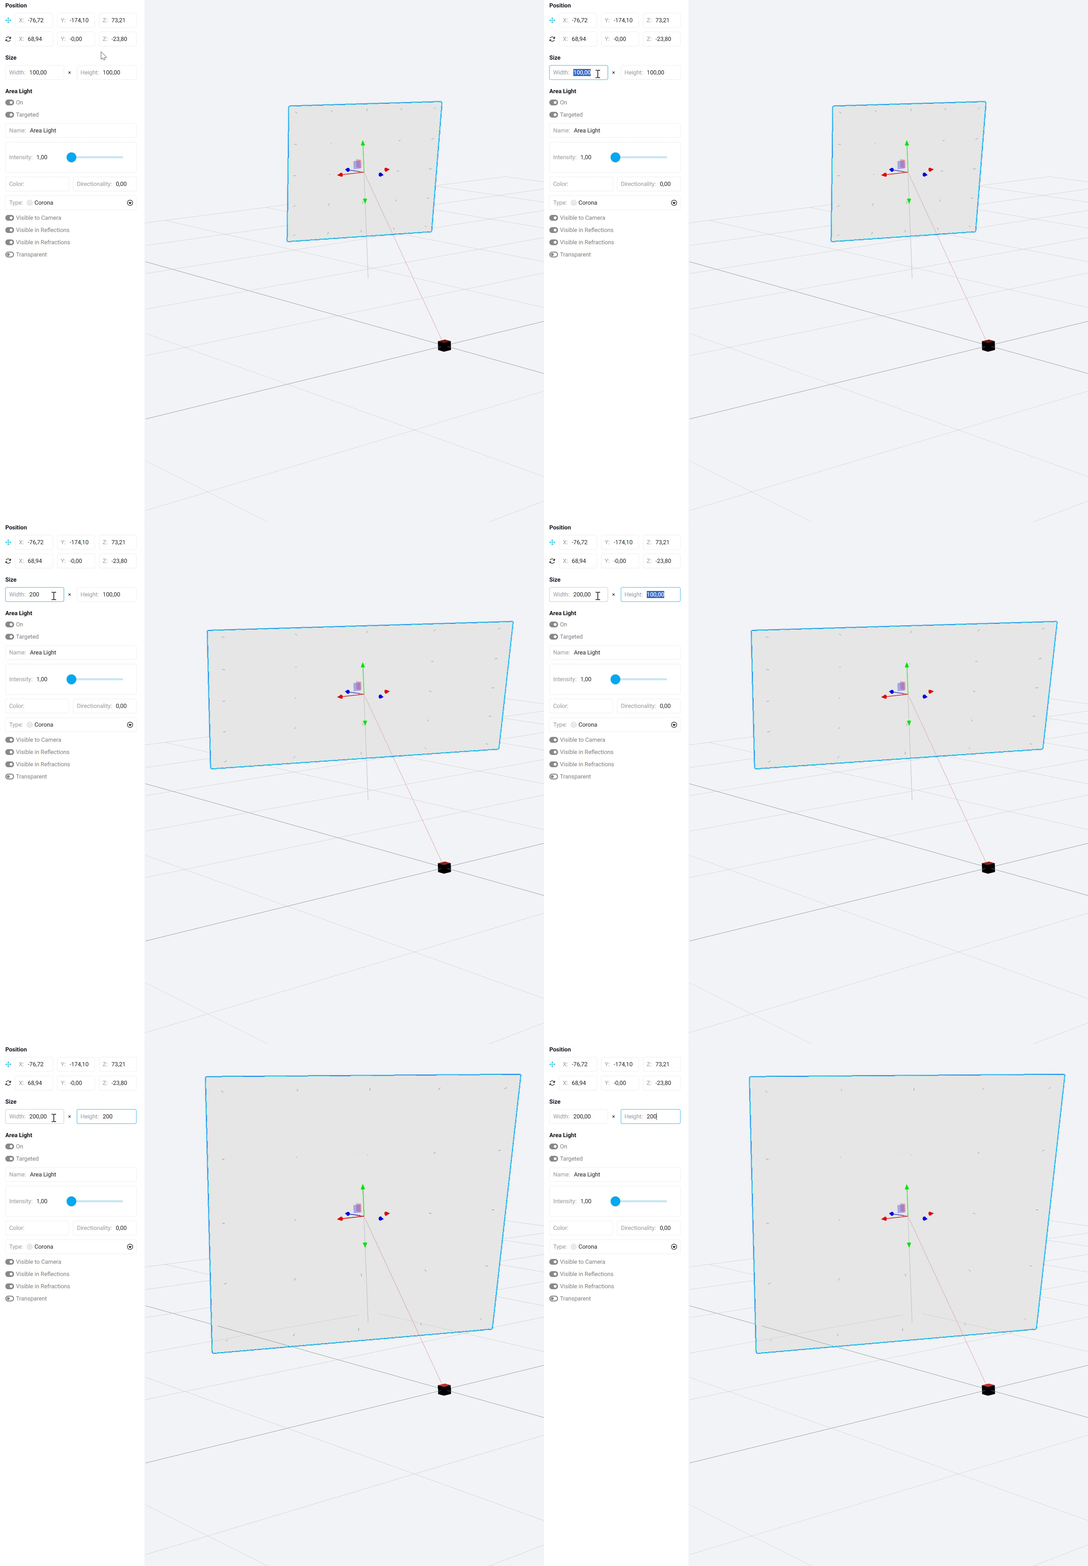
You can change the width and height of the light:
## Intentisty and Color
furthermore you can also adjust the intensity and the color of the light. If you change the intensity it is good to keep in mind that the intensity of the light will depend on which type of light you chose.
You can choose between the two types of *Area Light*:
* Blender: The luminous flux (the intensity of the whole light) remains constant, meaning that increasing the surface area (width and height) will not affect the overall intensity.
* Corona: The luminance of the light (the intensity in a given unit area) is constant so if you increase the size of the light it will increase the intensity of the whole light as well
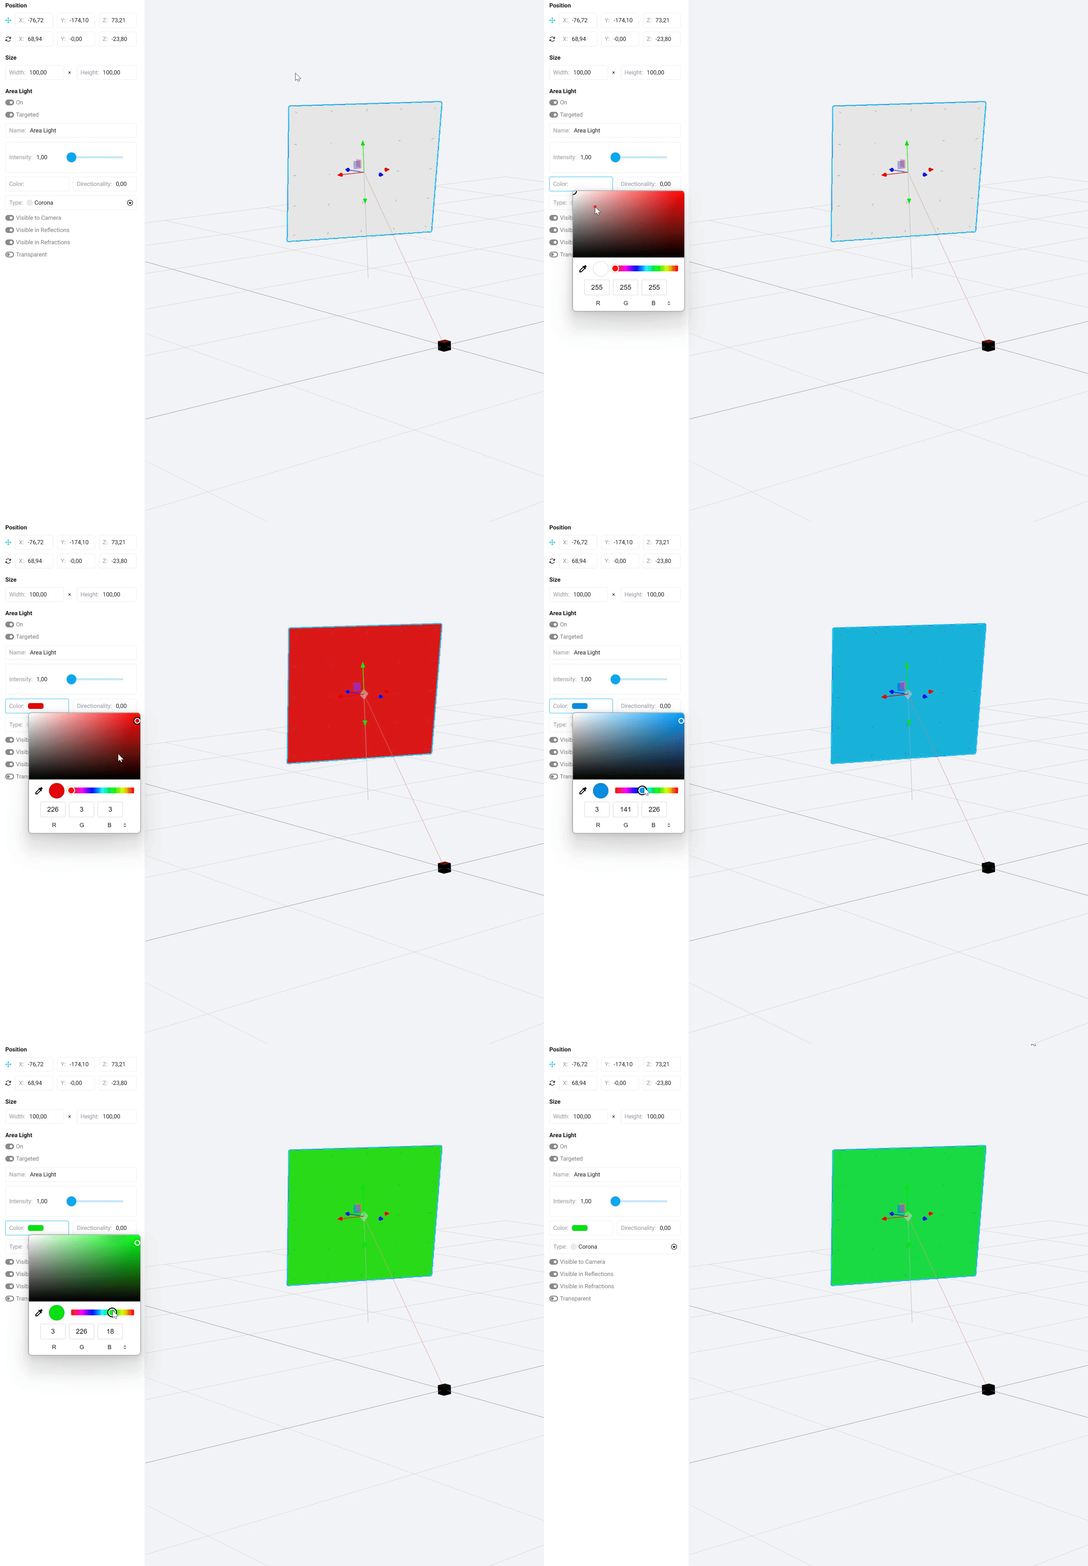
To change the color of the light, you simply have to pick a color from the color picker.
Choosing the color of the light
## Visibility
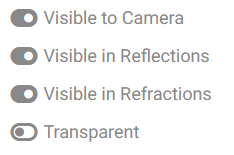
In some cases it is important to adjust whether the light is visible to the camera or various reflections, and this you can change in the visiblity settings:
.png?alt=media&token=a66696df-d0b6-4156-b3d2-c57508afa03e)
.png?alt=media&token=01d27276-9853-46e9-a2fe-30c03301c79b)